| **Damage** | **Attacks Per Second** | **Fire Mode** | **Knockback** | **Accuracy** | **Range** | **Reload Speed** | **Magazine Size** | **Noise** |
| 28 - 32 (90 DPS) | 10.21 | Automatic | 5% | 51% | 10 | 3.5 seconds | 50 | 10 |
**PROS:** - High Damage *(vs. other SMGs) - High RoF - Large Magazine*
**CONS:** - Reloads Slowly *(slowest of all SMGs)* - Inaccurate - Short Effective Range - High Ammo Cost - Low Knockback *(vs. other SMGs)*
**TACTICS:** With a 50-round magazine, decent damage per shot and an incredibly devastating rate of fire, this weapon will easily shred anything within its admittedly short range, especially in the hands of a skilled survivor. It also takes longer to reload than most SMGs, so keep an eye on its ammo levels and top it up manually when the coast is clear. ***Recommended gear: ***- Ammunition Pouches/Bandoliers increase reload speed, allowing survivors to get back into the action quicker. - Ammunition Mods increases its low damage, making it more efficient. - Glasses increases its low effective range, with some variants increasing accuracy as well.
**BACKGROUND:** A fully-ambidextrous Belgian PDW with integrated sights, its incredibly compact design is thanks to its unique horizontally mounted feeding system, paired with a high capacity top-mounted magazine containing high-velocity rounds capable of penetrating light body armor. Equipped by some SWAT teams and federal agencies, including the Secret Service.
##### **VARIATIONS:**| **SUPPRESSED** | **SCOPED** | **SUPPRESSED + SCOPED** |
| 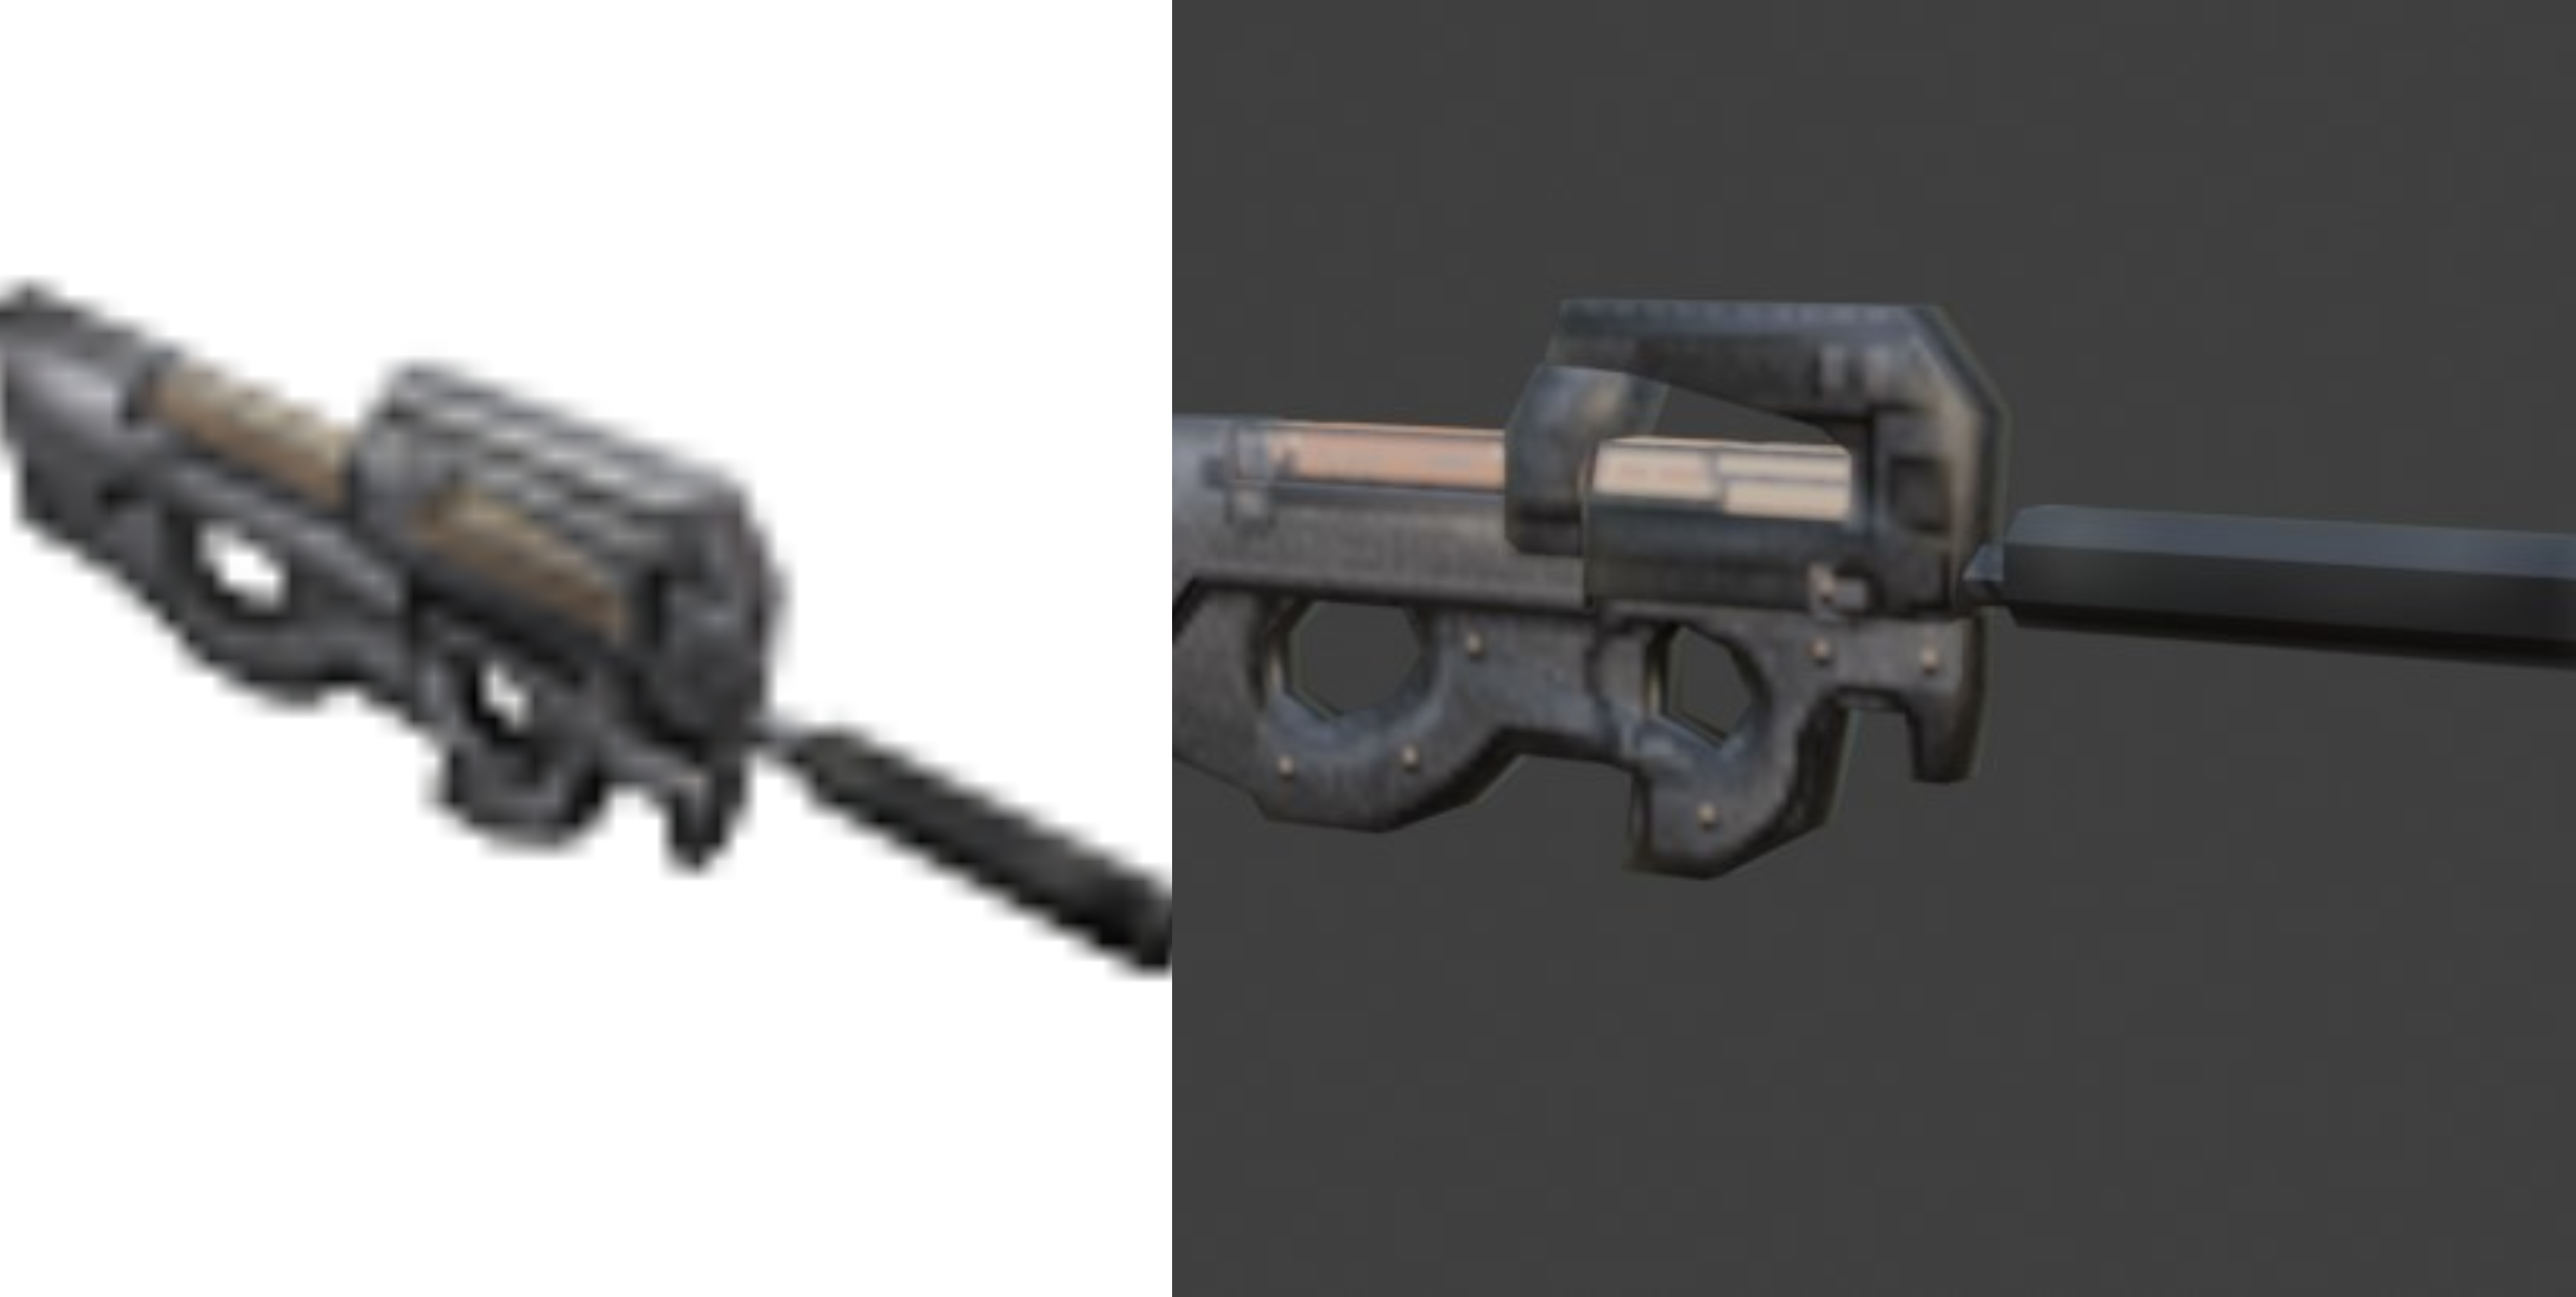 | 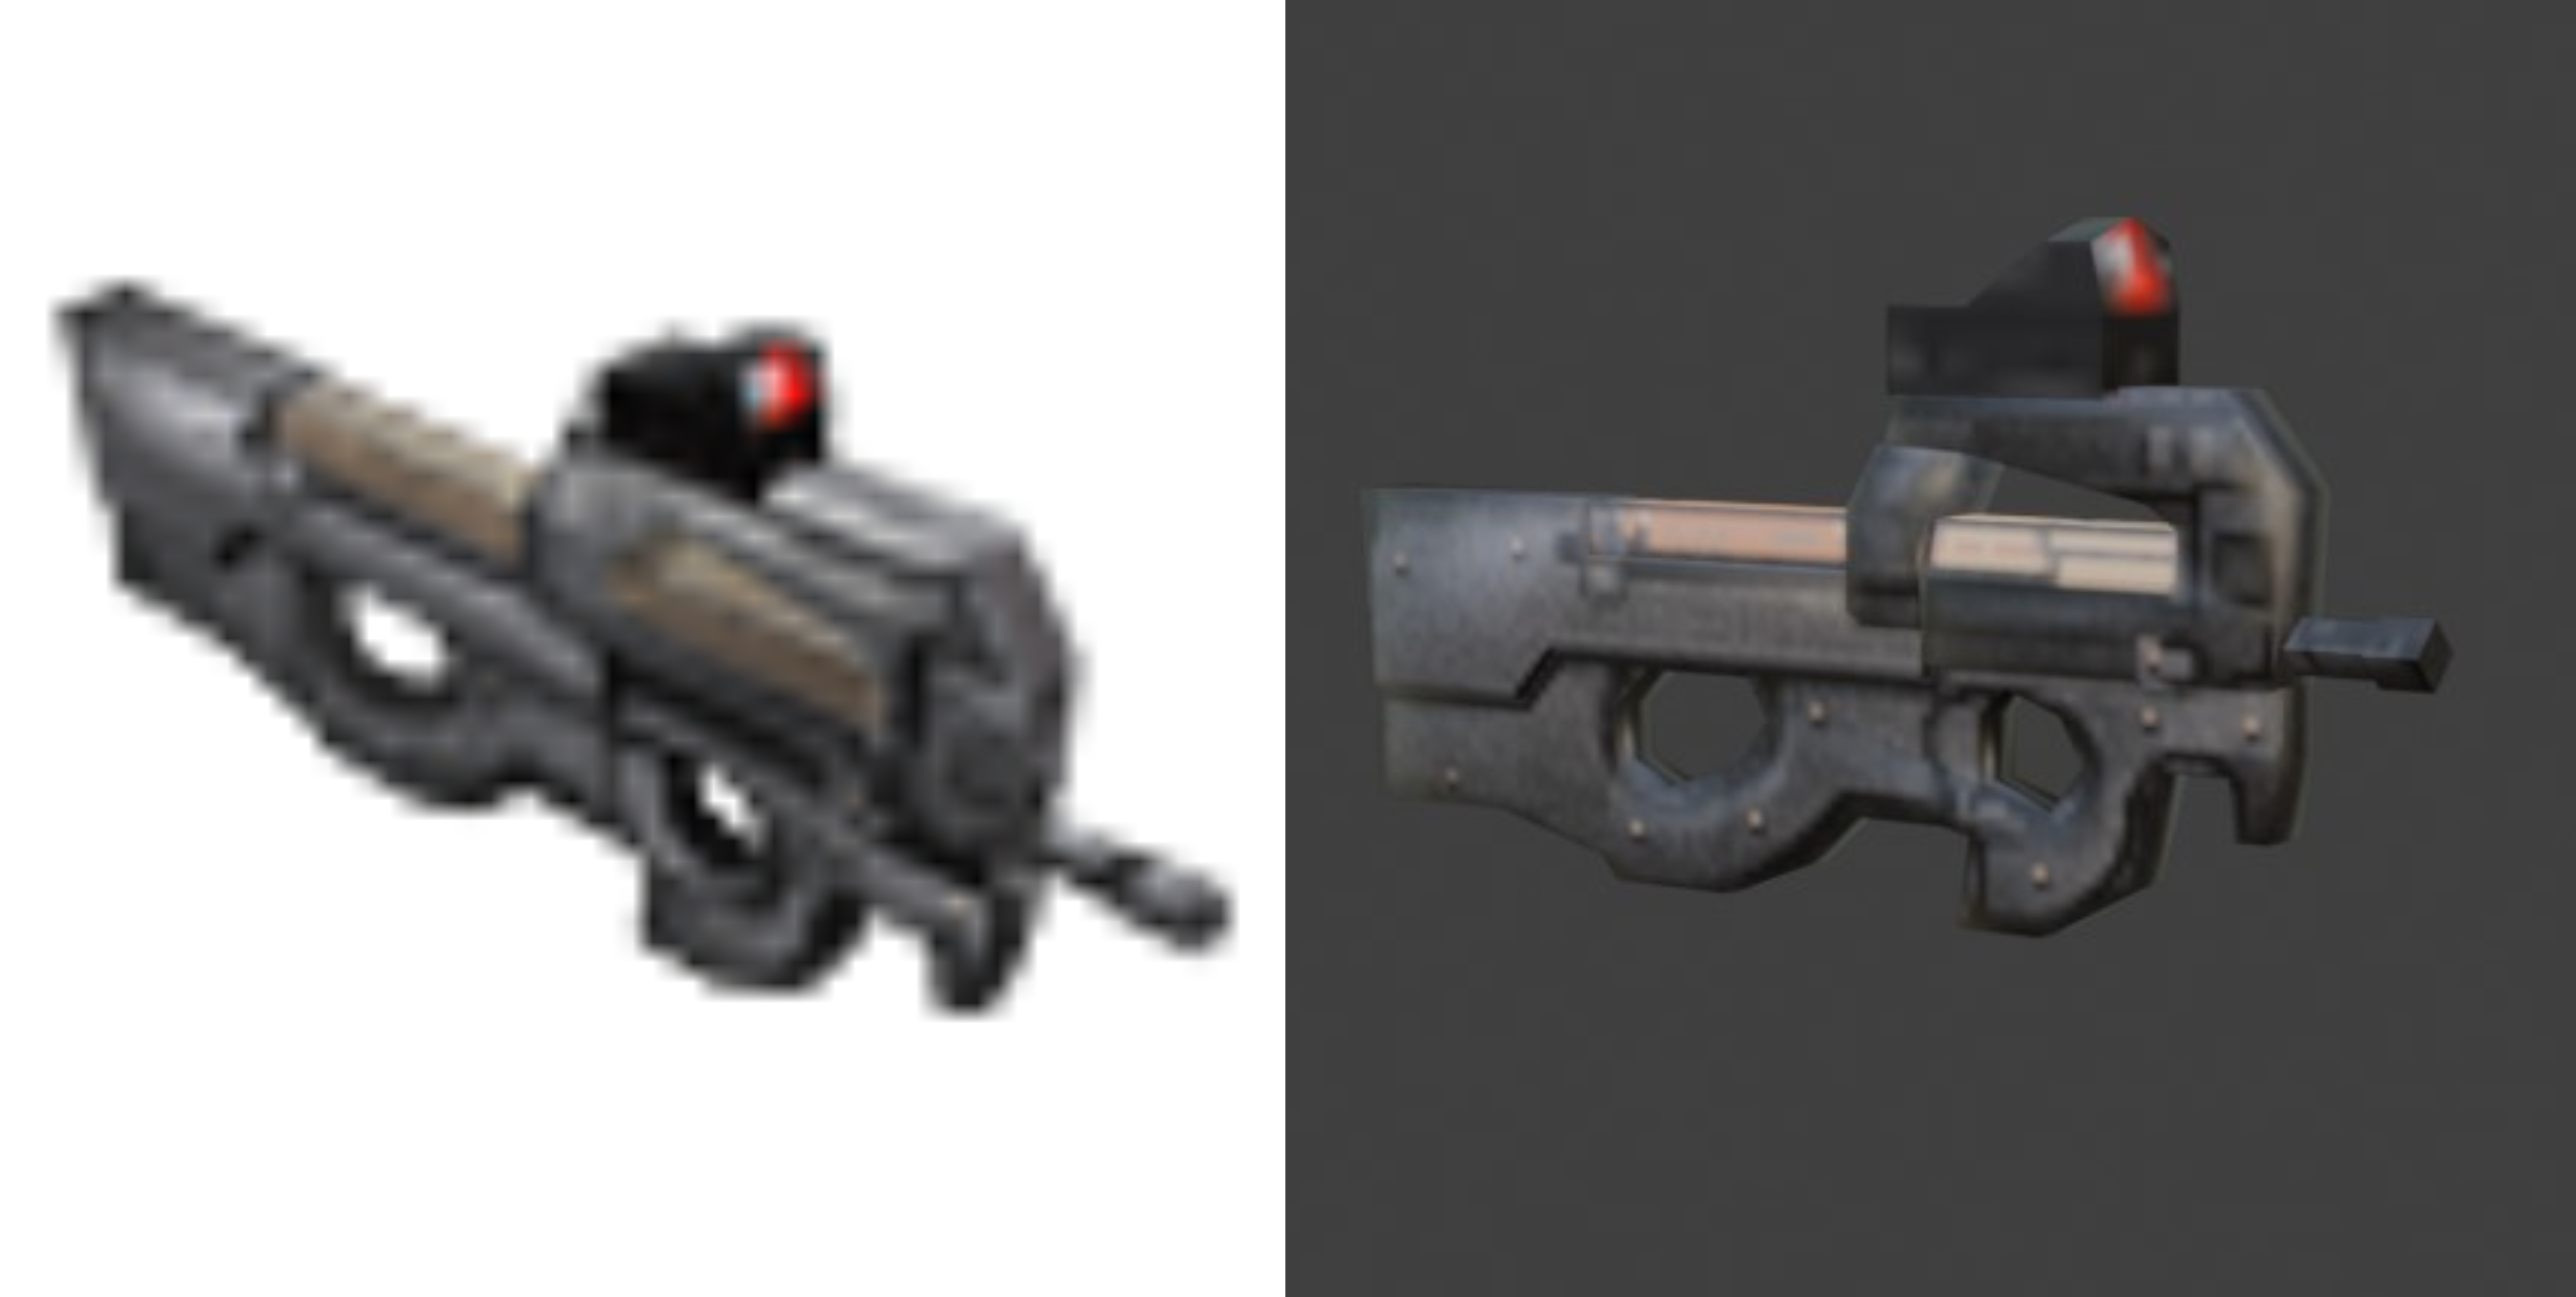 | 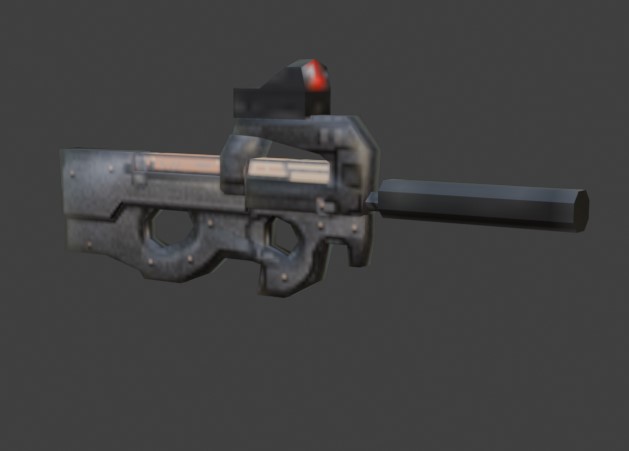 |
| **Obtain:** scavenged **Guaranteed stat:** -80% Noise -10% Damage -20% Enemy suppression | **Obtain:** scavenged or crafting (+ Recoilless) **Guaranteed stat:** +15% Range +3% Accuracy | **Obtain:** scavenged **Guaranteed stat:** -80% Noise -10% Damage -20% Enemy suppression +15% Range +3% Accuracy |